HighLevel ClickUp Integration
HighLevel ClickUp Integration
Automate client onboarding by connecting HighLevel workflows to ClickUp via Zapier webhooks. When a new SaaS customer signs up, automatically create their onboarding checklist without manual work.
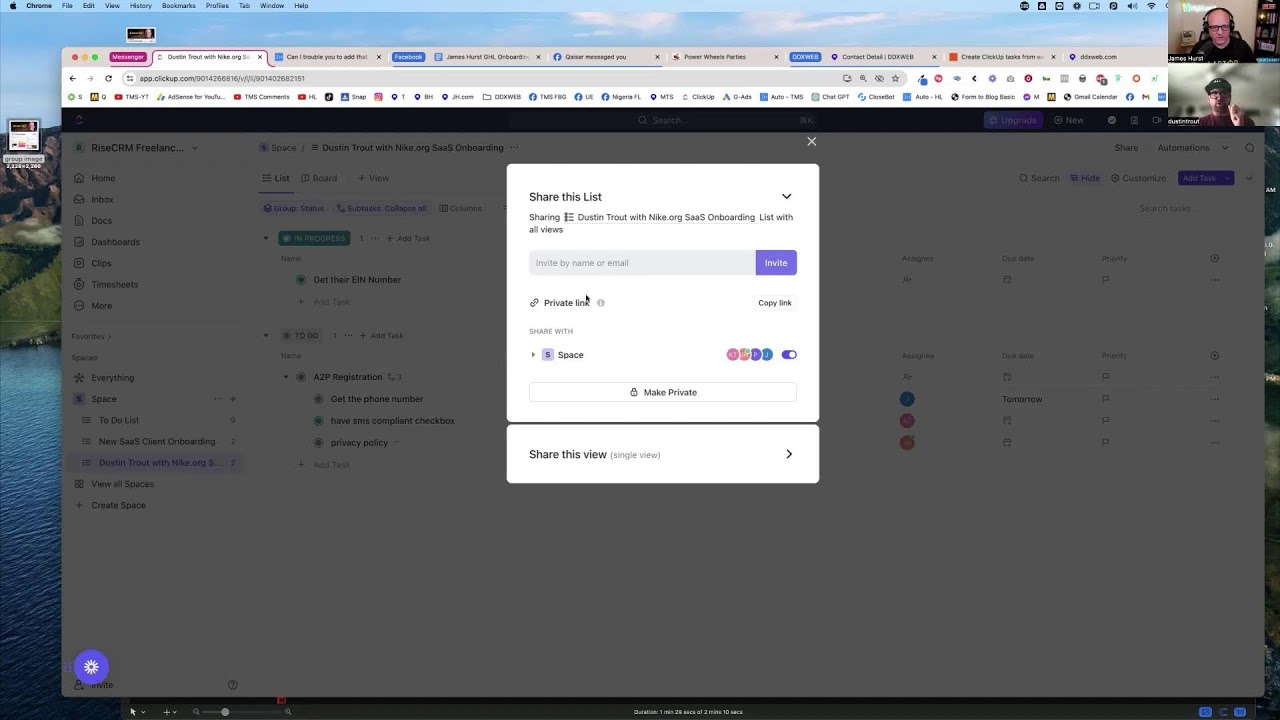
Click on the image above to watch the full video.
Why ClickUp Over HighLevel Tasks
HighLevel has built-in tasks, but they're designed for individual items—"call this lead," "send this email." When you need team coordination, dependencies, or complex multi-step processes, ClickUp is purpose-built for it.
The moment you hire your first VA, you need a system. Keeping onboarding steps in your head doesn't scale—this is core Business Operations. ClickUp handles:
- Subtasks within subtasks — Unlimited nesting (toggle it on in settings)
- Dependencies — Task B can't start until Task A completes
- Team assignments — Specialists own their piece of every client
- Status workflows — Open → In Progress → Ready for Review → Complete
- Kanban views — See what's stuck and what's moving at a glance
The Hierarchy: Spaces, Folders, Lists, Tasks
ClickUp organizes work in layers:
- Workspace — Your entire ClickUp account (e.g., "Rise CRM")
- Space — A major area of work (e.g., "Freelancers")
- Folder — Optional grouping within a space
- List — A collection of tasks (this becomes one per client)
- Task — The work item
- Subtask — Nested work within a task
For SaaS onboarding, the pattern is: one template list that gets duplicated for each new client. Each client gets their own list with all tasks pre-configured.
Building the Onboarding Template
Step 1: Create the Template List
Under your Space, create a new List called "New SaaS Client Onboarding" (or similar). This isn't for a real client—it's your master template.
Step 2: Add Your Tasks and Subtasks
Structure your onboarding as parent tasks with subtasks. Example:
A2P Registration (parent task)
- Get their phone number
- Get SMS compliance checkbox completed
- Create privacy policy
- Create terms and conditions
Account Setup (parent task)
- Get their EIN number
- Get their logo
- Configure their subdomain
Each subtask can have its own description with SOPs. For the privacy policy task, the description might include:
ChatGPT prompt example:
Give me a privacy policy for [BUSINESS NAME] with a section on A2P SMS compliance.
ClickUp auto-saves everything—no save button needed.
Step 3: Configure Statuses
Go to Space Settings → Task Statuses. Set up your workflow stages:
- Open — Not started
- In Progress — Someone's working on it
- Ready for Review — Done, needs approval
- Complete — Finished
These statuses apply to all tasks in the space. Click the status on any task to advance it, or use the arrow keys to move through stages quickly.
Step 4: Set Up the Board View
Click the "+" next to "List" at the top of your list and add a "Board" view. Now you see your tasks as a Kanban board organized by status.
To show subtasks on the board separately (not collapsed under parents):
- Find the subtask settings
- Set to "Show as separate items" or expand all
Now you can drag tasks between columns as work progresses.
Step 5: Pre-Assign Team Members
If the same person handles A2P registration for every client, assign them at the template level. When the template duplicates for a new client, assignments carry over.
Leave some tasks unassigned so team members can claim work—useful for crowdsourcing across a VA team.
Step 6: Save as Template
Click the three dots menu on your list → Templates → Save as Template.
Name it "New Client Onboarding" and save. Find it later in the Template Center (the 9-dot grid icon, top right).
Connecting HighLevel to ClickUp via Zapier
The Goal
When someone purchases your SaaS in HighLevel, automatically:
- Create a new ClickUp list from your template
- Name it with the client's company name
- All tasks, subtasks, assignments, and due dates appear instantly
Step 1: Set Up the HighLevel Workflow
In your HighLevel SaaS sub-account, find (or create) the workflow that fires when someone purchases. Add a webhook action.
Pro tip: Use Zapier's AI to describe what you want: "I want to do a webhook to ClickUp" — it'll suggest the right Zap template.
Step 2: The Bypass Tag Trick (For Testing)
You don't want to trigger real onboarding actions (mailgun provisioning, email sequences) every time you test. Add a testing bypass:
- Add an If/Else branch near the start of your workflow
- Condition: Contact has tag "bypass"
- If yes: Skip to webhook step (use Go To action)
- If no: Run normal flow
Now add the "bypass" tag to your test contact. They'll skip expensive steps but still hit the webhook, seeding data into Zapier.
Step 3: Configure the Zapier Trigger
In Zapier, set up "Catch Hook" as your trigger. Copy the webhook URL back to your HighLevel workflow action. (This is the same pattern used in HighLevel Zapier Google Sheets—master it once, use it everywhere.)
Run a test contact through the workflow. Go back to Zapier → Test → Find Records. You should see the contact data including company name, email, phone, etc.
Important: Make sure your test contact has a company/business name filled in—you'll use this to name the ClickUp list.
Step 4: Configure the ClickUp Action
Add action: ClickUp → Create List from Template
- Workspace: Select your ClickUp workspace (you may need to reconnect if you have multiple)
- Space: Select where client lists should live
- Template: Select "New Client Onboarding"
- List Name: Use the company name variable from the webhook data
If company name isn't showing in the dropdown, check that your contact record in HighLevel has the Business Name field populated (not just the linked Company object).
Step 5: Test It
Hit "Test Step" in Zapier. Go back to ClickUp—your new list should appear with all tasks, subtasks, and assignments intact.
Real-Time Visibility
Once this is running, you get instant visibility:
- For you: See all client onboardings on one board. Who's stuck? What's overdue? Is Paul answering his emails?
- For your team: Tasks appear automatically with clear ownership. No more "what should I work on?"
- For clients: Filter ClickUp to a specific client's list and embed that view in their HighLevel portal. They see exactly where their onboarding stands.
Advanced: Support Tickets After Onboarding
The list doesn't have to end at onboarding. Keep the client's list alive—when they submit a support ticket via HighLevel form, create a new task in their existing ClickUp list. All their work lives in one place, named by their company.
The To-Do List Automation (Bonus)
James showed a simple personal use case: a HighLevel form where anyone can add items to his personal to-do list in ClickUp.
Form fields:
- Name
- What do you want me to do?
Webhook fires → Zapier catches → Creates task in his personal ClickUp list. Now "Hey, can you add that to my to-do list?" actually works.
Common Issues
Template not showing in Zapier
Check that you're connected to the correct workspace. Each ClickUp workspace requires its own connection in Zapier.
Company name not appearing as a variable
The "Company" object in HighLevel is separate from contact fields. Make sure the contact's Business Name field (not just the linked company) is populated.
Duplicate records in webhook
Zapier sometimes shows multiple records. Look for the one with actual data in the body, not just query strings.
Why Checklists Matter
If you're wondering why we're so obsessed with checklists, read The Checklist Manifesto. Surgeons use them to prevent deaths. Pilots use them to land planes safely. The same simple tool can transform your client onboarding—zero missed steps, zero unhappy clients.
Build better systems. Get The Checklist Manifesto on Amazon →
Source
This workflow comes from James H's "The Marketing Show" on YouTube, featuring Dustin Trout, who has 4+ years of ClickUp experience building agency systems.
Watch the full video: If You Are Using HighLevel But Not ClickUp You Need To Watch This Now!
Alternative: Task Manager Inside HighLevel
Don't want to pay for ClickUp seats? GHL Plugins Task Manager puts project management directly inside HighLevel sub-accounts. Each client gets their own task boards, support ticketing, and time tracking—no external tool needed. White-label, so it looks like your platform. Worth considering if you want to keep everything in one place.
See Also
- ClickUp — The project management tool
- GHL Plugins Task Manager — Project management inside HighLevel (alternative to ClickUp)
- HighLevel — The CRM triggering the automation
- Ultimate GoHighLevel Onboarding Checklist — The complete onboarding checklist this automation is built to support
- The Checklist Manifesto — Why simple systems prevent costly mistakes
- Business Operations — Building systems that scale
See Also
We are an independent affiliate of HighLevel and may earn a commission if you sign up through links on this page. We are not employees or representatives of HighLevel.
Some links in this article are affiliate links. If you purchase through them, we may earn a commission at no extra cost to you. This helps support our content.
This article blends original content, AI-assisted drafting, and human oversight. How I write.
Stay Updated
Get notified when new content is published.
No spam. Unsubscribe anytime.