Build a Support Ticket System in HighLevel
How to Build a Basic Support Ticket System Inside HighLevel
Samuel and I built this out on a live session for the GHL Wizards, and the whole thing took about 20-30 minutes. The idea is simple: you're a new agency, you don't have Zendesk or Freshdesk or any of those help desk solutions, but you need a basic support path for your clients. Something better than "just email me" or "send me a text."
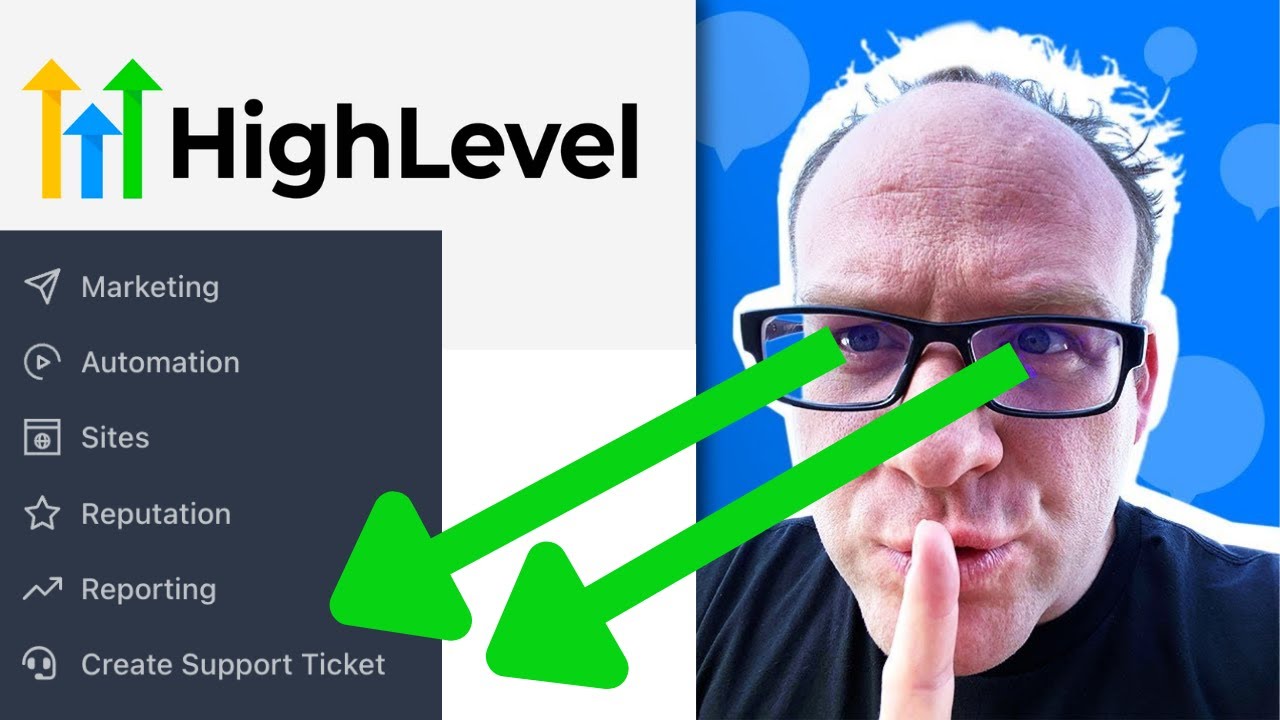
Click on the image above to watch the full video.
So we built one using tools that are already inside HighLevel — a form, a custom menu link, a pipeline, and a workflow. No third-party subscriptions, no extra cost.
Navigate to Sites > Forms > Form Builder and create a new form with these fields:
- Full Name — standard field
- Description of the Problem — large text field so they have room to explain
- Loom URL — a short text field where they can paste a screen recording link. Encourage Loom over written descriptions when possible — a 30-second video saves 10 minutes of back-and-forth
- Screenshots of the Issue — file upload field, allow multiple files (we set ours to 10)
Save the form as Support Form.
Once saved, click Integrate Form and copy the direct link. You'll need this for the next step.
Step 2: Add a Custom Menu Link
This is where it gets slick. You can iframe the form right into HighLevel's sidebar so it looks like a native part of the platform.
- Go to Agency Settings > Custom Menu Links
- Click Create New
- Name it something like Create Support Ticket
- Pick an icon — there's one with a headset that works perfectly
- Under Link Type, select Open an iframe
- Paste the form URL you copied in Step 1
- Set it to appear on All Accounts
Now when your clients log into their sub-account, they see the support ticket option right in the left sidebar. They click it, the form opens in an iframe, and it feels like it's built into the platform. No external links, no separate logins.
Step 3: Create a Support Pipeline
Head to Settings > Opportunities > Pipelines and create a new pipeline called Support Pipeline with three stages:
| Stage | Purpose |
|---|---|
| New Ticket | Fresh submissions land here |
| Work in Progress | Someone is actively working on it |
| Closed | Issue resolved |
Don't worry about values on the stages — this isn't a sales pipeline, so dollar amounts don't matter here.
Step 4: Build the Workflow
This is where the automation ties everything together. Create a new workflow with the trigger set to Form Submitted (your Support Form).
Here's the sequence we built:
-
Create/Update Opportunity — Creates a new opportunity in the Support Pipeline under the "New Ticket" stage. For the opportunity name, use the contact's full name so you can identify tickets at a glance.
-
Assign to User — Immediately assign it to the right team member. This way someone owns it from the moment it comes in.
-
Send Internal Notification — This is where you notify your team. Samuel prefers SMS over email for internal notifications — and honestly, I get it. Emails get buried. A text gets seen. Include a deep link to the contact record so whoever gets the notification can jump straight to the details.
-
Create Task — Assign a task to the contact's assigned user with a title like "New Support Ticket from {Contact Full Name}" and a due date of one day. Put the problem description and Loom URL in the task body so everything is right there.
That's really the only automation you need for the intake. Everything after that — updating the pipeline stage, communicating with the client, setting follow-up tasks — that's the rep doing their job inside the system.
Optional: Send a Confirmation
One thing we realized after testing was that the client should probably get a confirmation. Add an email or SMS step in the workflow that says something like "We've received your support request and someone will be in touch shortly." It's a small touch that makes a big difference.
Optional: Style the Form
Out of the box, the form is functional but basic. You have a couple of options:
- Agency Branding — Toggle this on in the form's style settings to pull in your logo
- Funnel Page — If you want more control over the look and feel, drop the form onto a funnel page, style it up, and iframe that page's URL instead of the raw form link
The Result
After about 20-30 minutes, we had a working support ticket system where:
- Clients submit tickets from inside the platform (no external tools)
- Tickets automatically create opportunities in a support pipeline
- The assigned team member gets notified immediately
- A task gets created with a deadline
- Everything is trackable and dragable across pipeline stages
Is it Zendesk? No. But for a new agency that needs a basic, zero-cost support path right now — this gets the job done. And you can always build on top of it. Add more workflow steps, create folders for organizing tickets, build out reporting. The bones are there.
Ready to build yours? Start your free HighLevel trial and follow the steps above.
Want Something More Robust?
If you need a full-blown project management and support ticketing system inside HighLevel — with task boards, time tracking, and cross-account dashboards — check out GHL Plugins Task Manager. It's the paid version of what we just built for free, with a lot more bells and whistles. Try Task Manager free for 7 days.
Need help setting this up? Create a ticket at MyTechSupport.com and a specialist can build it out for you.
See Also
- Deep Link to Any Contact Record — The trick we used to link directly to contact records from internal notifications
- Custom Fields vs Custom Values — Understanding the data structure behind forms and pipelines
See Also
We are an independent affiliate of HighLevel and may earn a commission if you sign up through links on this page. We are not employees or representatives of HighLevel.
Some links in this article are affiliate links. If you purchase through them, we may earn a commission at no extra cost to you. This helps support our content.
This article blends original content, AI-assisted drafting, and human oversight. How I write.
Stay Updated
Get notified when new content is published.
No spam. Unsubscribe anytime.