CloseBot V2 Bot Build Walkthrough
CloseBot V2 Bot Build Walkthrough
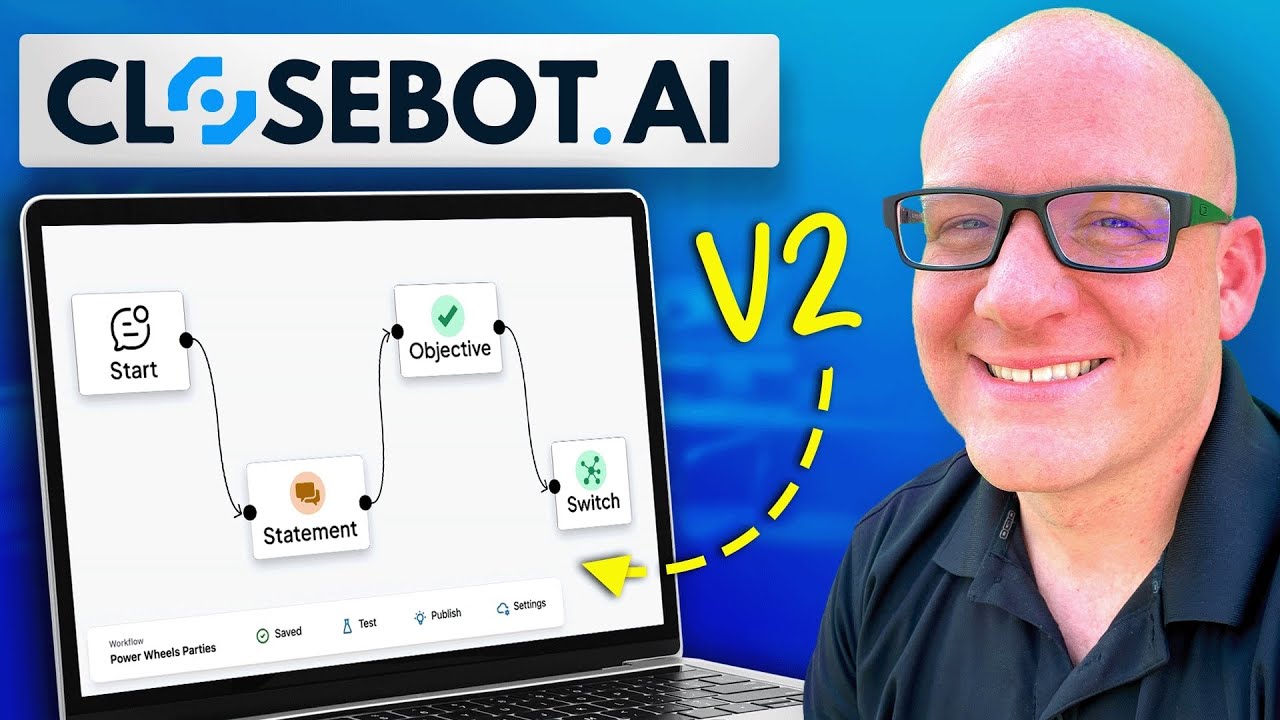
This is a hands-on walkthrough of CloseBot V2 with Jared from the CloseBot team. We start from zero and build a working bot for a real business — Power Wheels Parties — that delivers a coupon code via text, qualifies the lead, and routes them toward booking an appointment.
Click on the image above to watch the full video.
If you've been on V1 or you're brand new, this covers the V2 workflow builder from end to end.
The Setup: QR Code to Text Conversation
The business idea is simple. Someone scans a QR code at an event or on a flyer, and it opens a text message on their phone pre-filled with a keyword. When they hit send, CloseBot takes over — delivers a coupon, asks qualifying questions, and pushes them toward booking.
Before building anything in CloseBot, you need two things:
- A connected source — Go to Sources and connect your HighLevel sub-account via OAuth. Pick the specific sub-account you want the bot to operate on.
- A persona — This is the AI personality that responds. We created "Sam" for this build. Keep it simple to start.
If you're migrating from V1, draft (disable) your old automations first so they don't conflict.
The Workflow Builder
This is where V2 really shines. The workflow builder is a visual, drag-and-drop interface where you chain together different node types to control the conversation.
Start Node
Every workflow begins here. It represents an incoming message from a contact. You drag from the Start node's output to whatever should happen next.
Statements: Hardcoded vs AI-Powered
Statements are the simplest node. They send a message to the contact. You have two options:
Hardcoded: The bot sends exactly what you type, word for word. Good for delivering specific information like coupon codes, links, or pricing.
AI-powered: Toggle on "Use AI to generate a response" and the text becomes a prompt instead. For example, instead of typing the coupon code directly, you'd write:
In a fun way, tell the contact that the coupon code is "celebrate50" — that is the exact code, do not change it.
The AI generates a natural, conversational response while preserving the exact code. Putting the code in quotes tends to be a strong signal for the AI to keep it verbatim.
Objectives: Collecting Information
Objectives are how you gather data from the contact. You define what information you need, and the AI asks for it conversationally.
Single objective: Get one piece of information — like their first name.
Multi-objective: Stack multiple objectives in one node — like first name AND the birthday child's name. The multi-objective approach is more efficient because the AI might get multiple answers in a single exchange. If someone says "I'm Sarah and it's for my daughter Emma," the AI captures both without asking twice.
Each objective has:
- Name — What you're collecting (e.g., "first name")
- Output variable — The HighLevel field to store it in (optional)
- Short description — Instructions for the AI on how to ask
- Extra prompt — Additional context like "let the contact know we just need a few details to get everything set up"
When to use separate objectives vs. multi-objective: If you need the AI to solve A first and then B second (in order), use separate objective nodes chained together. Multi-objective is for when the order doesn't matter and efficiency is the priority.
Switches vs Branches
Branch = Yes/No (if/else). "Are they interested in a party or not?"
Switch = Multiple options (case statement). "Are they here for booking, pricing, or questions?"
Both can be powered by AI. Instead of checking a specific variable value, you describe the decision and the AI evaluates the conversation context:
"What is the intent of the outreach?"
- Case 1: Booking a birthday party
- Case 2: Pricing
- Case 3: Questions
The switch automatically creates an output for each case, plus a default "none" output for when nothing matches — similar to the default branch in HighLevel workflows.
Conversation Nodes
This is the open-ended mode. The AI draws from:
- The full conversation history
- Your knowledge base
- Contact data from HighLevel
And just... talks. It answers questions, responds naturally, keeps things going. Use this when you don't have a specific script in mind and want the AI to handle whatever comes up.
A common pattern: route someone through your planned flow (coupon → qualification → booking), and if they fall into the "none" branch, drop them into a conversation node where the AI fields whatever they throw at it.
GHL Booking Node
Drop in a booking node to let the bot schedule appointments directly through text. You need to provide your HighLevel calendar ID (copy it from your HighLevel instance and paste it into the node).
The booking prompts can be customized — time preferences, duration, any specific details the calendar expects.
One decision to make: conversational booking vs link-based booking. Conversational booking happens entirely in the text thread — the AI walks them through available times and books it. Link-based booking sends them a calendar link to pick a time themselves. Conversational tends to be easier for the contact. Link-based can be better for rescheduling since people are more familiar with clicking a link.
The Full Flow We Built
Here's the complete conversation flow:
- Contact scans QR code → texts the keyword
- Statement → Delivers the coupon code (AI-powered, fun tone)
- Objective → "What brings you here? Booking, pricing, or questions?"
- Switch → Routes based on intent:
- Booking → Multi-objective collects first name + kid's name → Switch on party duration (1hr / 1.5hr / 2hr) → Calendar booking
- Pricing → Statement with pricing details
- Questions → Conversation node (AI answers from knowledge base)
- None → "Let us know if you have questions" → Conversation node
Controlling When the Bot Fires
You don't want the bot responding to every text message. There are two ways to control this:
Tag-based filtering: In the workflow settings, set it to only respond to contacts with a specific tag. No tag? No response.
Router workflow: Build a lightweight "router" workflow that receives all incoming messages, checks the content, and assigns tags based on what it finds. Different tags route to different specialized workflows.
The router pattern is especially useful when you have multiple entry points — different QR codes, different keywords, different offers — each routing to its own workflow.
In the workflow settings, you can also filter by channel (SMS only, for example) to prevent the bot from responding on channels you don't want.
V1 to V2: What Changed
From Jared: "The improvements from V1 to V2 are pretty stark. The total control you have is inestimable." The visual workflow builder, multi-objective support, AI-powered switches, and the routing capabilities are all new.
The CloseBot team is actively building more — walkthroughs and knowledge resources are coming to help with the learning curve. Start simple (just answer questions from a knowledge base) and expand to full flows as you get comfortable.
See Also
We are an independent affiliate of HighLevel and may earn a commission if you sign up through links on this page. We are not employees or representatives of HighLevel.
Some links in this article are affiliate links. If you purchase through them, we may earn a commission at no extra cost to you. This helps support our content.
This article blends original content, AI-assisted drafting, and human oversight. How I write.
Stay Updated
Get notified when new content is published.
No spam. Unsubscribe anytime.